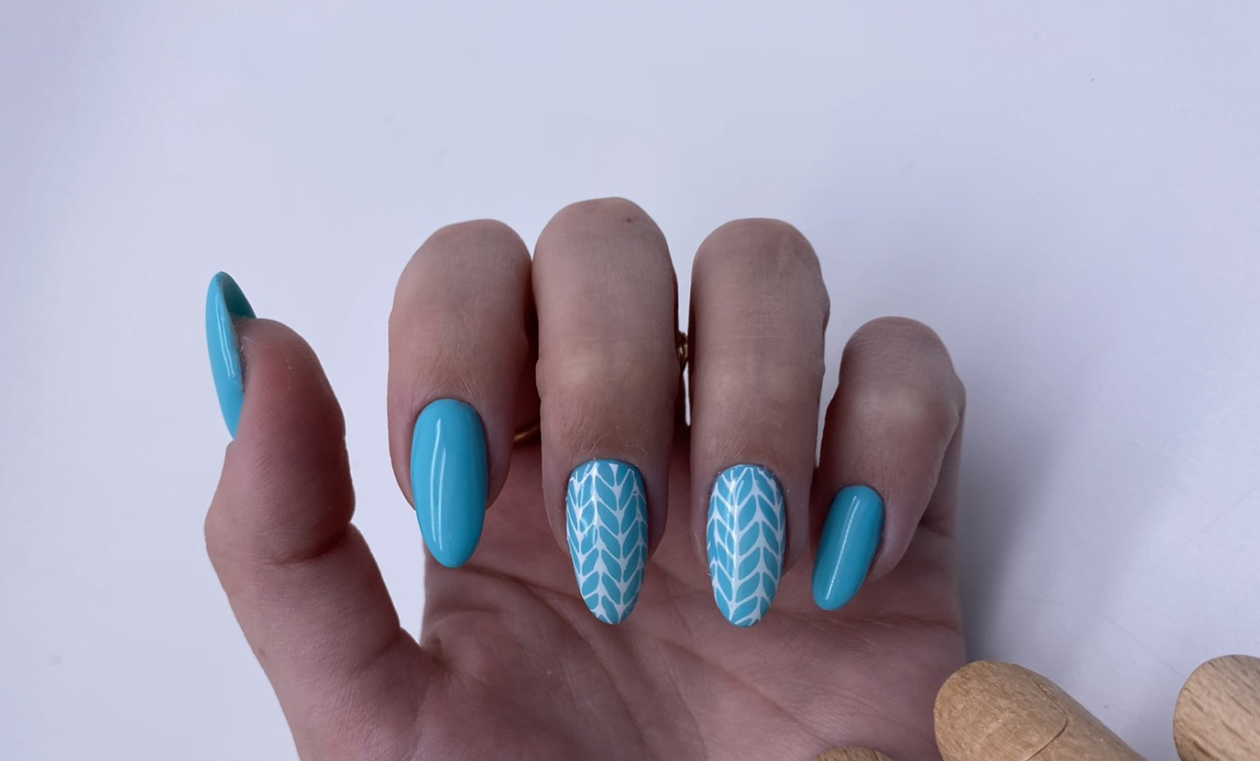
Now, during a pandemic, when we are forced to be in self-isolation, many are faced with the question: how do a manicure at home when beauty salons are closed? We decided not to stand aside and help the beautiful half of humanity with recommendations for hand care at home.
Tools and products for home manicures
1. Make sure you have the following tools and materials available :
- Nail polish remover and cotton pads / lint-free wipes (if nail polish is applied with regular polish) or gel polish remover, lint-free cotton pads/napkins, nail clips or foil (if you have gel polish.
- Orange sticks
- Nail clippers or nail scissors if the nails are long and you want to cut the length;
- File for natural nails, buff and file for removing gel polish.
- Pusher ;
- Cuticle remover ;
- Nippers or scissors for leather ;
- Moisturizing hand/nail cream;
- Nail base, nail polish, top.
2. Peel off the old nail polish coating. If you have regular nail polish, we recommend using a non-acetone product, as it does not dry out your skin. If you have a gel polish coating and you use discs and not lint-free wipes, then first cut the cotton pads into four parts so that the smaller area of the cotton pad dipped in the gel polish remover contacts the skin (to protect the skin from remover, we recommend lubricate the area around the nail with cream). Next, cut off the top layer of the coating with a file so that the gel polish remover penetrates the coating more strongly and can soften it better. Moisten the quarters of cotton pads or lint-free napkins in the remover, attach them to your nails and fix them with clothespins or wrap them with foil. Wait 15-20 minutes (see the recommendations on the product’s labelling), remove the clothespins or foil with cotton wool from your fingers, gently pick up the rest of the gel polish, and remove with an orange stick.
The shape of the nails. Cut nails using pliers or nail clippers and give them a neat shape if necessary. It is best to use a slightly rounded nail or square-rounded shape, but you can get creative and make the shape you want.
Avoid using metal or very rough files to minimize chipping. Choose a finely abrasive nail file. Polish the nail’s surface with a buff so that the nail has an even surface.
4. Place your hands in a bowl of warm (not too hot) water and add some mild face wash or shampoo to the water. Soaking the cuticle before removing it is essential, and at the same time, long soaking will damage your skin and nails, so limit this step to a maximum of three minutes.
Apply cuticle remover around the nail. The holding time is from 30 seconds to 2 minutes (see the recommendations on the product’s labelling).
Remove excess cuticle around the nail using a pusher. Gently push the cuticle away from the nail, but do not push it too far, as this can damage the nail’s growth or skin. Remove the remnants of the remover with a napkin.
Pinch off the free edge of the cuticle with cuticle nippers. Please don’t overdo it because the cuticle helps protect the nail bed from all sorts of problems.
Also, remove the burrs on the side ridges, but again, be careful not to cut yourself or injure the nail plate.
Rub nourishing cream or oil into cuticles and hands to moisturize and restore skin.
8. Preparation for coating. The moisturizing ingredients on the nail will prevent the nail polish from adhering properly. Using a cotton pad, apply nail polish remover to the nail’s surface to remove any residue. While this procedure can also remove oil from the cuticle, don’t worry. Just apply the cream or oil as soon as your finish dries again. The most important part of this step is ensuring nothing greasy or emollient is left on the nail.
Cover your nails. Use a nail-strengthening base coat if you have weak or brittle nails. Then apply the coloured varnish in layers to allow each layer to dry between applications—two coats of coloured varnish followed by a top coat for a gloss finish. This layer also protects nails from penetration of colouring agents into the nail plate (especially if you prefer red nail polish) and prevents chipping.
Tip: Take a few minutes to touch up your manicure every other day with one top coat. This will help your nails look beautiful for much longer.
It takes time for your nails to dry completely, so be patient. The fan helps, but don’t use heat; the varnish will chunk and flake off. Also, do not put your nails too close to the fan’s airflow, as bubbles may appear on the coating.
10. Reapply moisturizer! A nourishing/moisturizing cream is essential to keep your hands and nail area healthy.
If you have the right tools and use the proper methods, you can get a beautiful home manicure. Of course, this method cannot replace a professional manicure, and at the same time, knowing how to do it yourself will help you look well-groomed in such a difficult time!
